
Installing or replacing a pool liner in the above ground swimming is not as hard as you think it is. You can do it as a weekend project. By doing it on your own, you can save a lot of money.
How to Install Pool Liners
Step#1 Preparing the Wall and Floor
Find ways to smoothen the bottom under your liner. One way of doing this is by adding sand to the floor. You can also use trowels or shovels to knock down high areas. And even in the process, you can fill in low areas.
Use a carpenter’s level to check if the pool floor is level. You can also run a string across the pool, just like in slicing pizza. Connect stakes on the pool edge, to a single stake at the center of the pool. Make sure that the height of the string is above the floor is constant from the center edge.
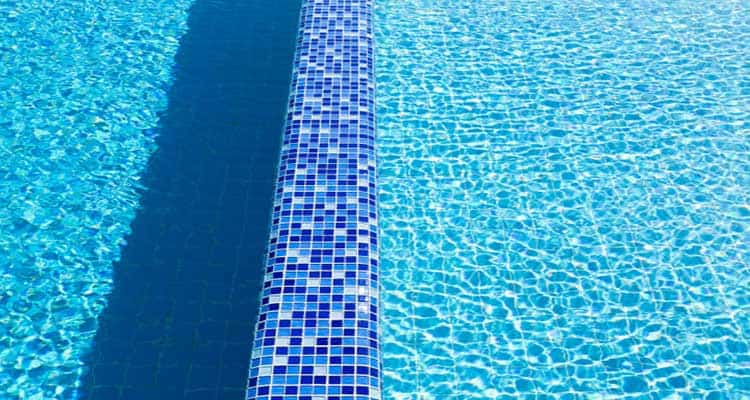
Liner With Concrete Floor
For those with the concrete floor underneath the liner, sweep the floor clean. You need to get rid of any pebbles or grit as well as patching any sunken or cracked areas. Installing of liner Pad on the floor pool is possible. There are designed to fit the size of your swimming pool and spread out in place before installing the liner.
The liner guard or liner pad is around 1/8 inches thick. But it cannot hide deep floor divots. It can straighten and smoothen rough floors and prevent nutgrass or small pebbles from damaging the liner. This will also provide a softer feel and to avoid sand or divots pool bottoms.
In the preparation of the wall, you can use duct tape to tape bolt holes or bolt heads. Utilized where the wall panel connects, and inspect for any rust or signs of corrosion. Use foam cove sections or trowel a sand cove up to protect the new liner.
Scrape rusty walls, sand, and paint using rust hiding paint or rust conversion paint. For extensive wall repair, use wall foam. This can adhere to the walls of the pool before you install the liner, to keep the liner protected. It provides a softer feel and reduces punctures.
Step#2 Installing the Liner
The best time to install the liner is during warm weather. This will enable the liner to stretch more. The minimum temperature should be around 65 degrees, with no rain, and calm winds. Store the liner in a warm area.
Check the size of the liner and the pool size. Make sure the liner will fit the pool entirely. Carefully open the box. Clear the area and ensure that there are no sharp objects or corners to prevent the liner from cutting. Spread the liner inside the pool, side to side. You will need the help of your friends to spread the liner. Use Popsicle sticks or pennies on overlap liners to hold the liner in the track temporarily. For overlap liners, use pins or other clamps.
Step#3 Set the Liner Using a Vacuum
This step is optional, but it helps to prevent wrinkles in your liner. You can use a heavy-duty dry/wet vac or a Cyclone Liner Vac to suck out the air between the walls and liner to pull the liner tightly easily. Use cardboard and duct tape on the outside of the pool to seal the wall returns. Set-up vac on a chair or table beside the pool skimmer.
Turn the vacuum on, and within minutes you can see the liner tightly sucked to the pool’s wall and floor.
Step#4 Fill the Pool
Before adding water to the pool, assemble the top rails well to strengthen the pool walls. If you have set the liner with the vacuum the way you want it, continue running the vacuum until you have reached 6 inches of water in the pool. Take the hose out behind the liner and remove the duct tape.
As you fill the pool, monitor the liner to make sure that the wrinkles will not occur again. Smoothen out well to assure there are no wrinkles. Checking the overlap liners will make sure that there is no overstretching. Once it is held in position with a few inches of water, release any tension on the wall vinyl.
Step#5 Install Face Plates
Before you install the skimmer and faceplates, wait until the pool is full. If you do it too early, and the vinyl is still stretching, leaking problems may occur from stretched screw holes. Use faceplate holes to line up the screw holes of the wall and skimmer. Place gaskets in between, tighten the faceplate very tightly using a Philips screwdriver.
Also, read the best above ground pool liner guide here.
Conclusion
To make the installation of pool lines easy, make sure that you have all the tools, materials, and accessories needed on hand. If you are not comfortable doing it on your own, you can call a reliable provider and hire them to help you install the liner. For questions and inquiries, feel free to comment below.